Creating a Customer Journey
This guide walks you through how to create a FlareLane Customer Journey.
1. Set entry and exit conditions
Section titled “1. Set entry and exit conditions”
The first step in building a Customer Journey is defining the journey's entry and exit conditions.
There are two types of conditions, event-based and segment-based. See the detailed guide for specifics.
2. Set up actions
Section titled “2. Set up actions”For users who meet the conditions and enter the journey, you can design flows across a variety of channels such as push notifications and Kakao Alimtalk.
For the full list of supported channels and flows, see the detailed guide.
3. Set the conversion event
Section titled “3. Set the conversion event”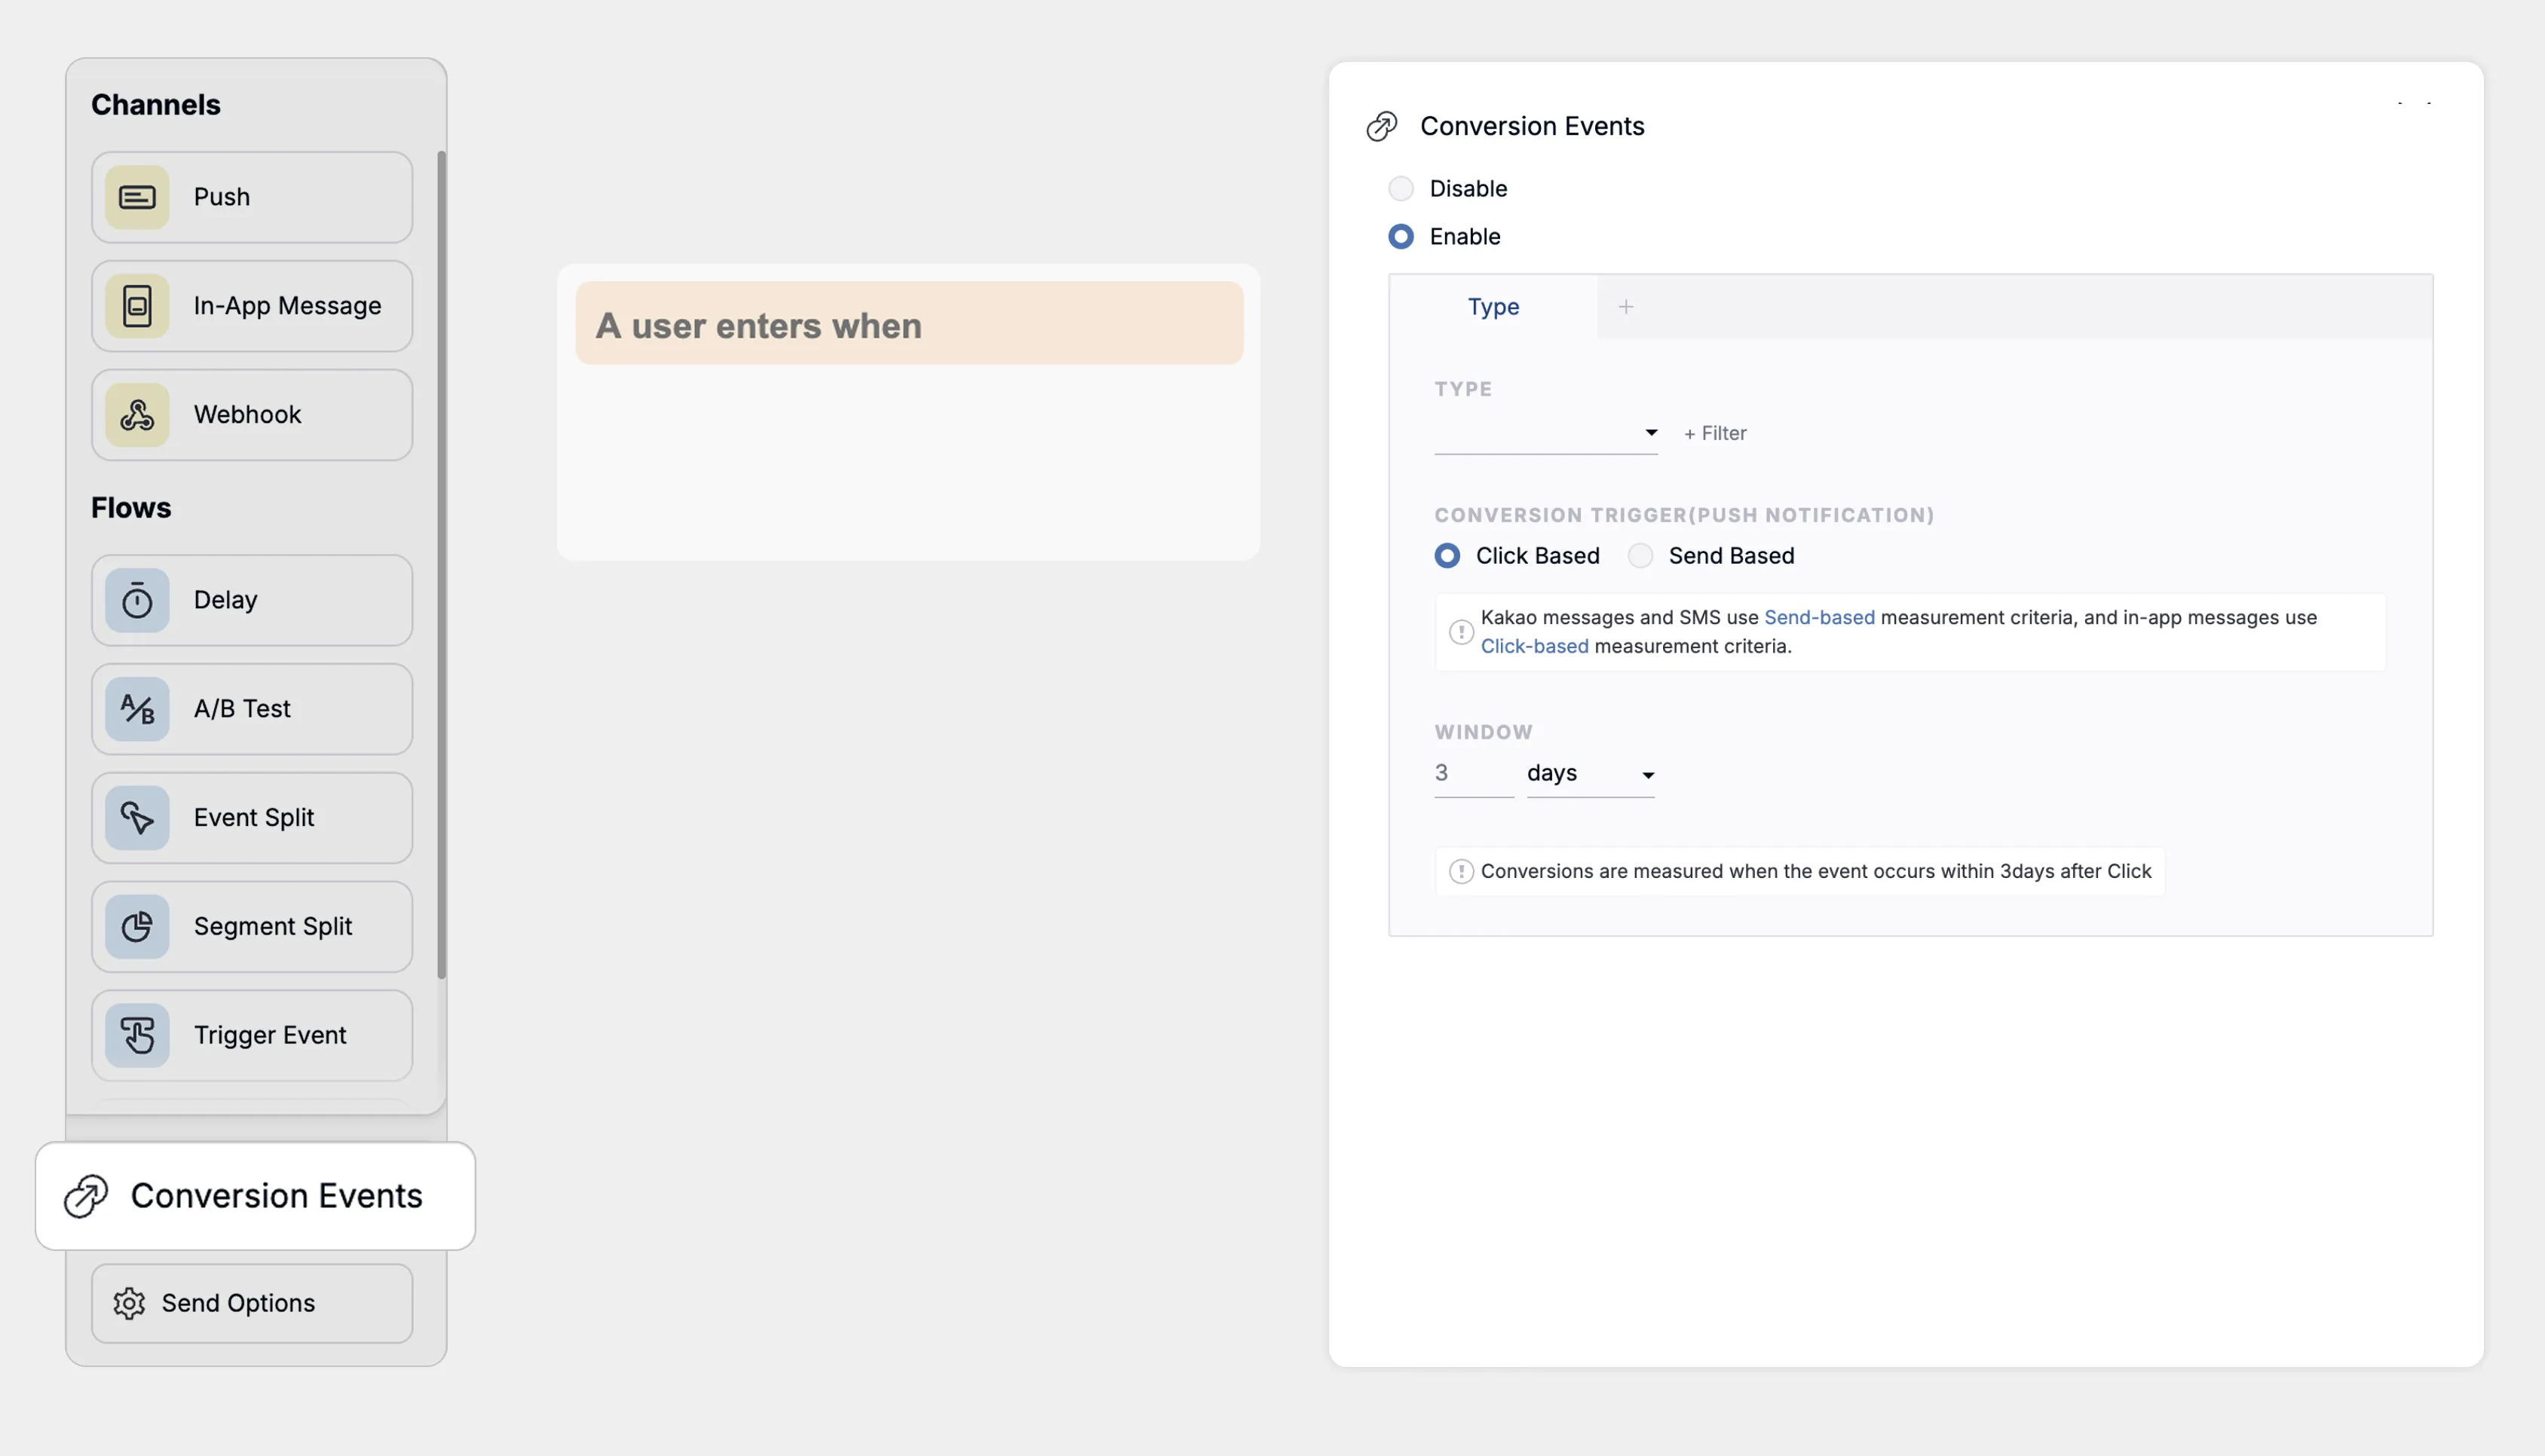
You can set the journey's conversion event. The configured conversion event applies to every action in the journey.
4. Delivery settings
Section titled “4. Delivery settings”
A variety of delivery settings are available within the journey. See the detailed guide for specifics.
| Setting | Description |
|---|---|
| Re-entry policy | Set the maximum number of times a target can enter the journey and the policy that governs re-entry. |
| Frequency capping override | If frequency capping is currently set, you can ignore it and force messages to send. |
| Do Not Disturb hours | Specify the hours during which notifications should not be sent. This activates based on each device's and user's local time zone. |
5. Activate the Customer Journey
Section titled “5. Activate the Customer Journey”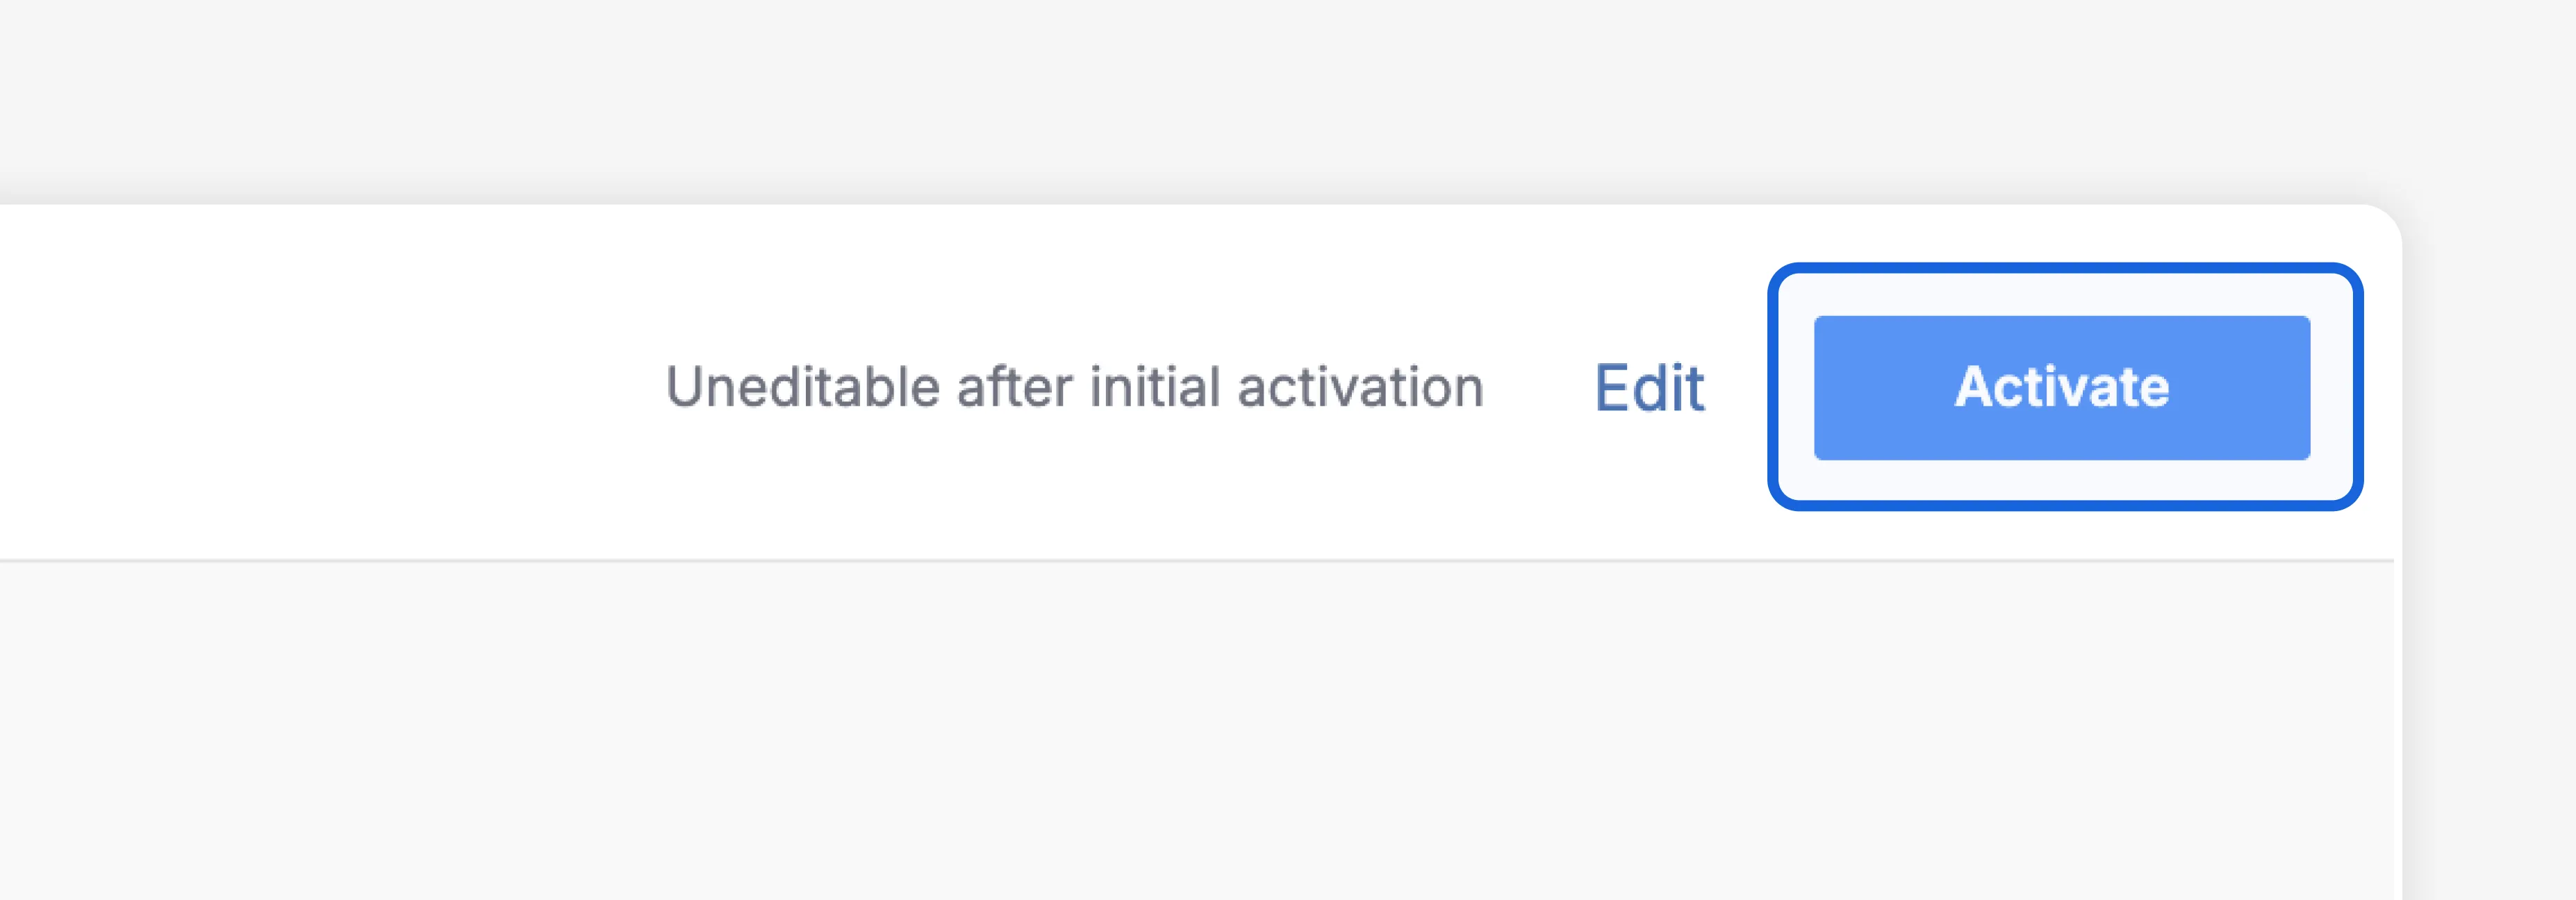
Once all settings are complete, activate the Customer Journey to begin sending notifications. The journey begins only for users who meet the entry conditions from the moment of activation onward.
Changes are not possible after activation. To make changes, you'll need to duplicate the existing journey and activate the new one. For more details on Customer Journey states, see the detailed guide.