Cafe24 Integration
If you use Cafe24, you can get started with FlareLane even more easily.
This guide explains how to install FlareLane and describes the data FlareLane collects automatically.
How to install FlareLane
Section titled “How to install FlareLane”Learn how to set up web push on your Cafe24 website. With the Cafe24 FlareLane app, you can install web push even more easily with just a few clicks.
Integrating through the Cafe24 App Store
Section titled “Integrating through the Cafe24 App Store”1. Install the Cafe24 FlareLane app
Section titled “1. Install the Cafe24 FlareLane app”Go to the FlareLane app on the Cafe24 App Store, click the [Install] button, and agree to the data usage terms.
2. Start the FlareLane integration process
Section titled “2. Start the FlareLane integration process”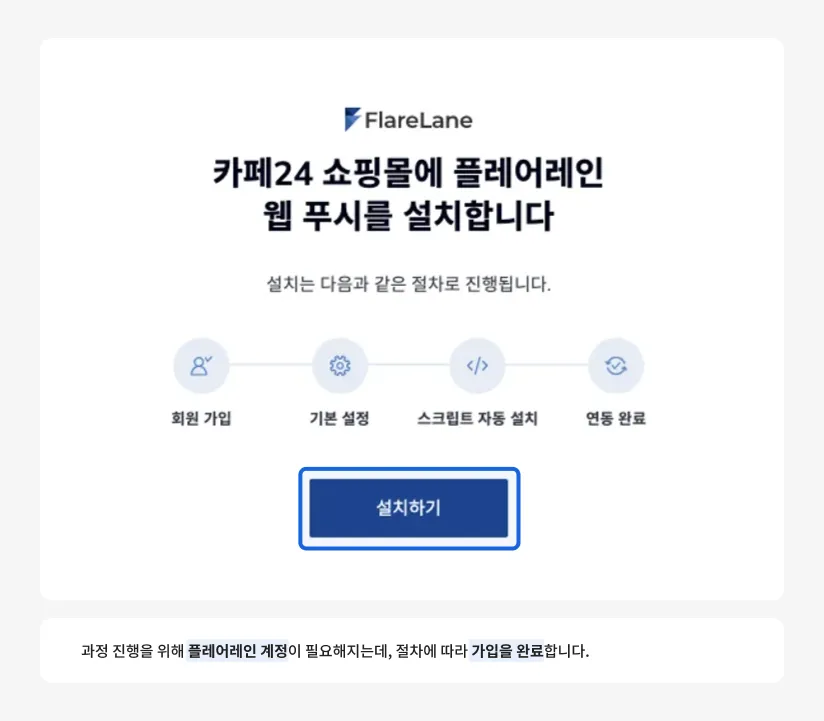
After agreeing, click the [Install] button once more on the FlareLane–Cafe24 integration site.
3. Enter initial setup information
Section titled “3. Enter initial setup information”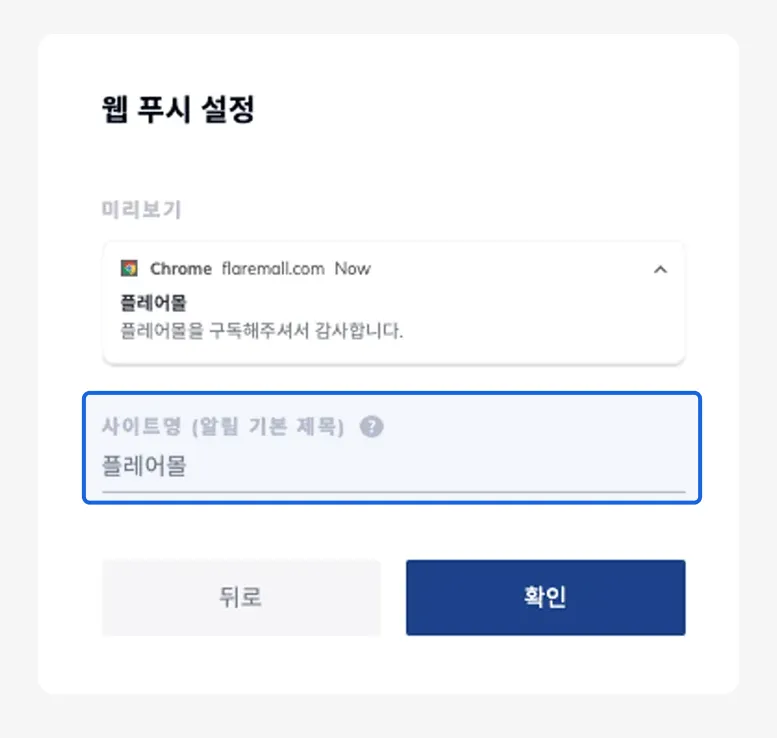
Using the preview as a reference, enter your site name. The site name you enter will be used as a fallback whenever a notification title is left blank.
4. Web push installation complete
Section titled “4. Web push installation complete”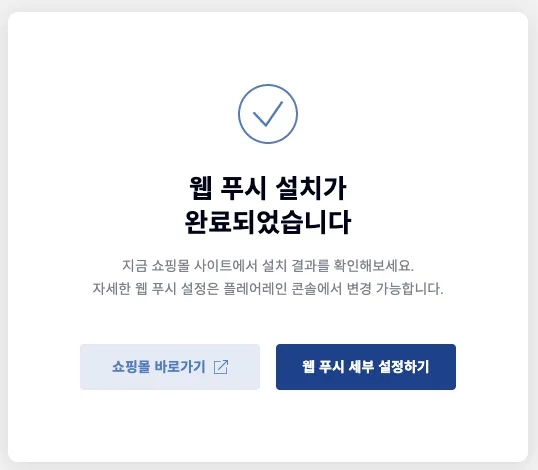
Once setup is complete, a subscription pop-up appears when users visit your website. (The pop-up language follows the visitor's browser language.)
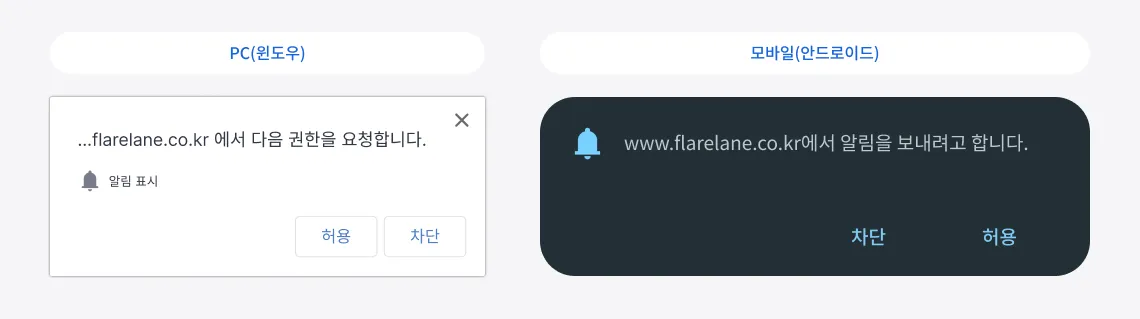
When a user taps Allow, they are automatically subscribed to notifications, and from then on they can receive notifications even after leaving the browser.
You can then use the [Configure Web Push Details] button to fine-tune the pop-up and widget that are displayed.
Automatically collected data
Section titled “Automatically collected data”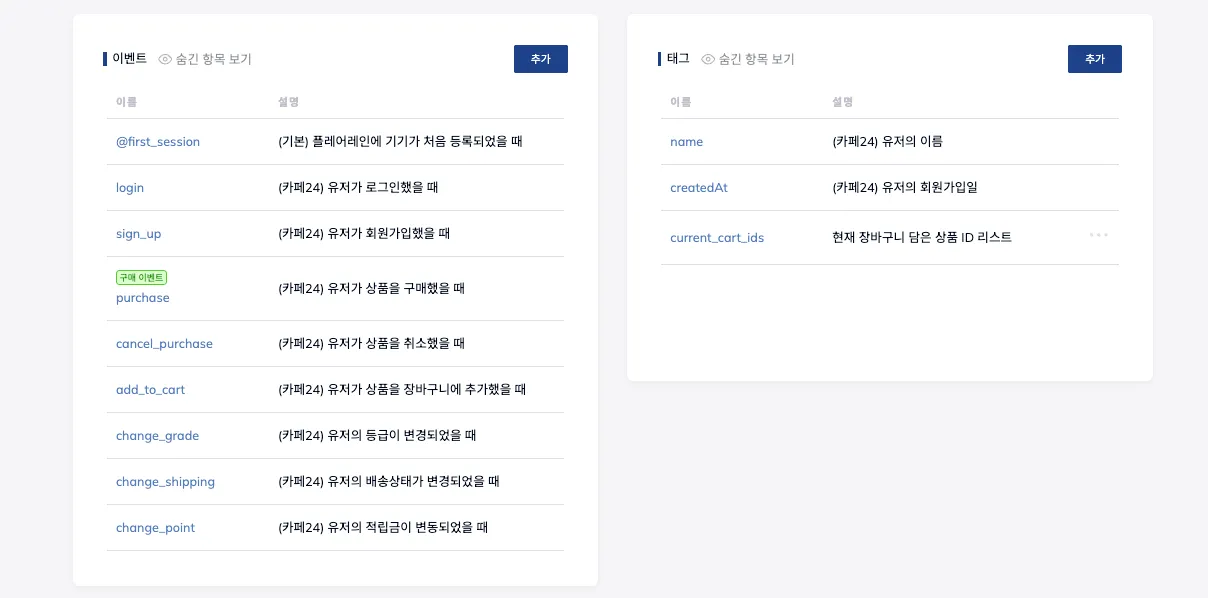
With the Cafe24 FlareLane app, various data is collected automatically without any additional development, making it even more convenient to use. The installed Cafe24 FlareLane app automatically collects the following user ID / event / user profile & tag data.
User ID & user profile
Section titled “User ID & user profile”A user is created when they log in on your website, and the user ID is automatically linked to that device.
When a user is created, key user profile fields such as name, phone number, and email are automatically integrated, making them immediately ready for multi-channel sending via SMS, KakaoTalk, email, and more.
Events
Section titled “Events”| Event name | Description |
|---|---|
| login | When a user logs in |
| sign_up | When a user signs up |
| purchase | When a user purchases a product |
| cancel_purchase | When a user cancels a purchase |
| add_to_cart | When a user adds a product to the cart |
| change_grade | When a user's grade changes |
| change_shipping | When a user's order shipping status changes |
| change_point | When a user's reward points change |
| Tag name | Description |
|---|---|
| name | Name |
| createdAt | Sign-up date |